

Pearl finish restoration is an art that revitalizes surfaces mimicking pearl shells' iridescence through a meticulous multi-step process. Skilled technicians address challenges like scratch repair and tarnish prevention using specialized tools and techniques. Home restoration requires careful preparation, specific tools (good lighting, drop cloths, polish compound), and professional methods for optimal results.
Discover the art of reviving your surfaces with this guide to pearl finish restoration. Pearl finish, known for its glossy, iridescent sheen, is a popular choice in various applications. However, over time, it can face common issues like scratches, fading, or loss of luster. This article breaks down the process into manageable steps, allowing you to effectively restore and maintain that stunning pearl finish. Learn about identifying damage, gathering tools, and achieving a professional-like result for your next restoration project.
- What is Pearl Finish?
- Common Issues in Pearl Finish Restoration
- Step-by-Step Guide to Restoring Pearl Finish
What is Pearl Finish?
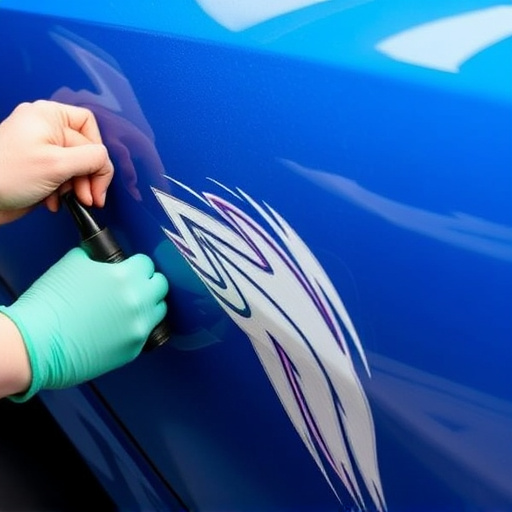
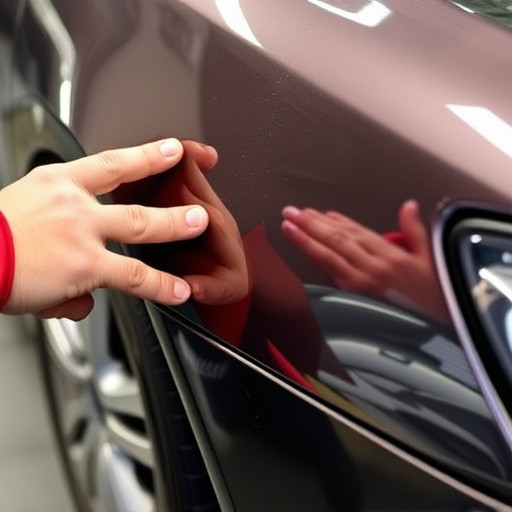
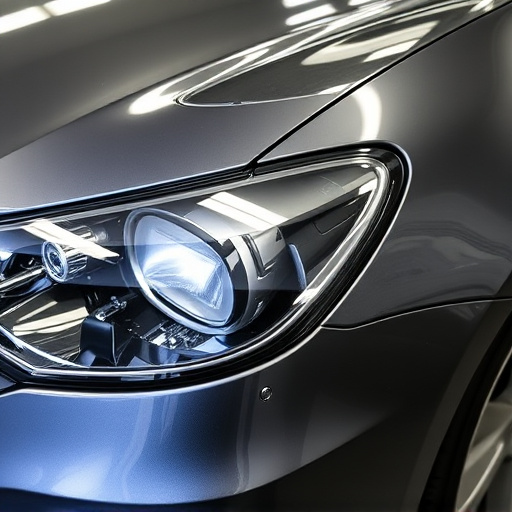
Pearl finish is a unique and elegant coating that has been a sought-after aesthetic for both automotive and decorative applications. It’s more than just a glossy shine; it mimics the natural iridescence found in pearl shells, creating a subtle, shimmering effect that catches the light beautifully. In the context of pearl finish restoration, this involves bringing damaged or faded surfaces back to their former glory, revealing the exquisite depth and brilliance that makes pearl finishes so captivating.
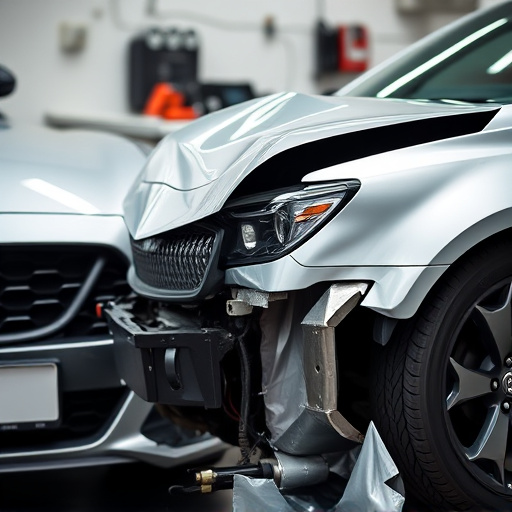
This type of finish is typically achieved through a multi-step process including priming, masking, and meticulous application of specialized coatings. Restoring a pearl finish isn’t just about repairing visible scars from car damage repair or fender benders, but also ensuring the underlying surface is properly prepared to support the delicate layers that create this stunning visual effect. Skilled technicians use their expertise to blend and match colors precisely, preserving not only the appearance but also the integrity of the pearl finish, enhancing its beauty and longevity.
Common Issues in Pearl Finish Restoration
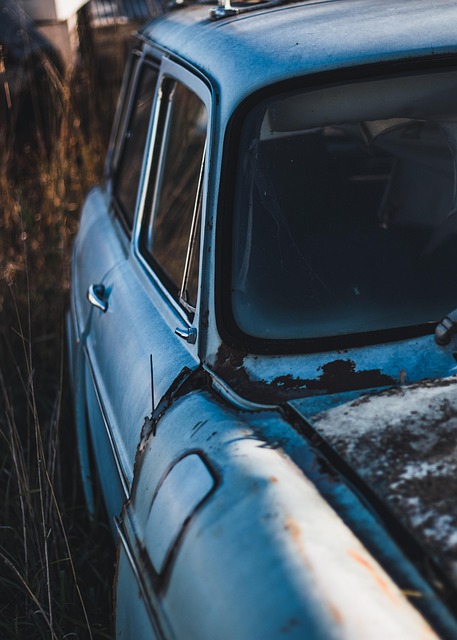
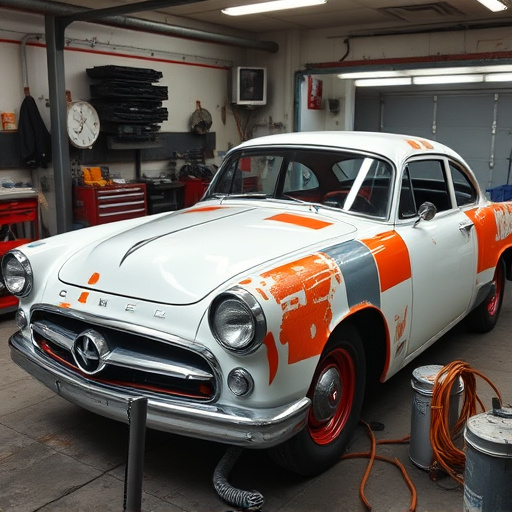
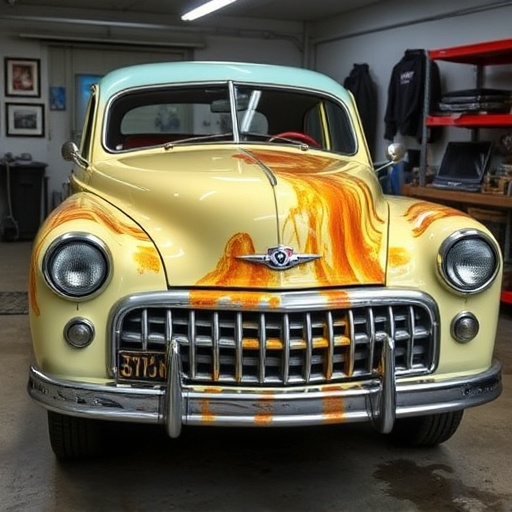
Pearl finish restoration can be a delicate process due to several common issues that arise during both new applications and re-restorations. One of the primary challenges is addressing scratch repair, which not only affects the aesthetic appeal but also impairs the protective coating. These scratches can range from superficial ones visible under certain lighting to deeper gouges that compromise the overall finish. Proper assessment and careful selection of restoration techniques are crucial to mitigate these issues effectively.
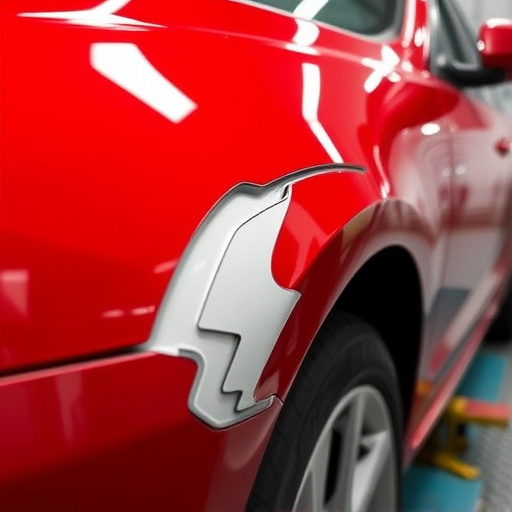
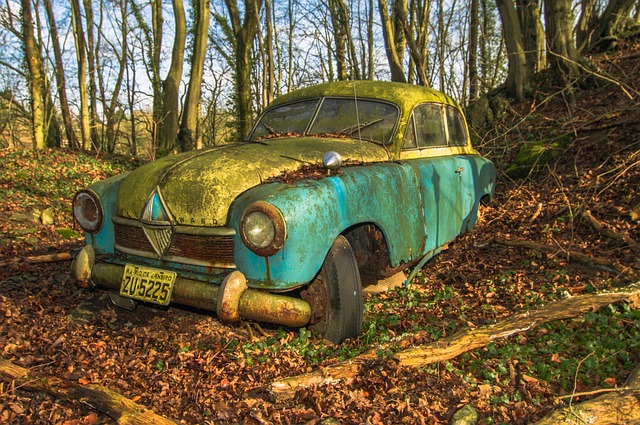
Another frequent problem involves vehicle dent repair, especially on older vehicles or those with previous restoration attempts. Dents can distort the pearl finish, creating uneven surfaces and disrupting the glossy appearance. Skilled technicians employ specialized tools and techniques for vehicle dent repair, ensuring a seamless blend with the surrounding panel. Additionally, understanding how to handle and prevent tarnishing is essential, as it can significantly impact the final result of any pearl finish restoration work.
Step-by-Step Guide to Restoring Pearl Finish
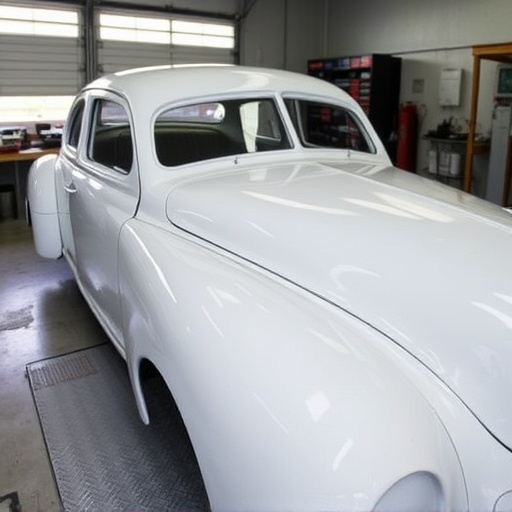
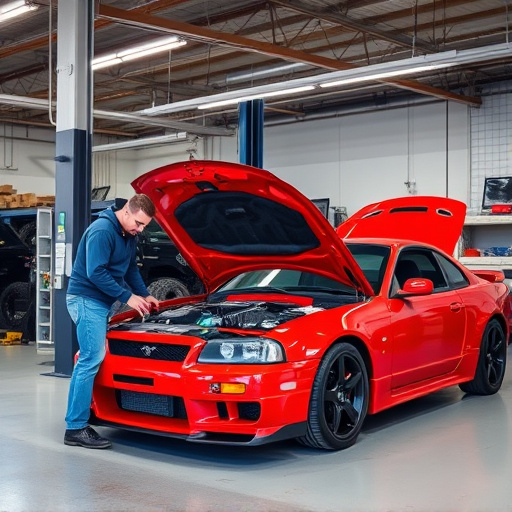
Restoring a pearl finish on your car requires care and precision. Here’s a straightforward step-by-step guide to help you achieve professional results at home. First, prepare your workspace by ensuring good lighting and covering nearby surfaces with drop cloths or newspaper to avoid damaging or staining them. Next, gather all the necessary tools: a soft cloth, decontaminant cleaner, polish compound, buffing machine (or a dedicated polishing tool), and a clear coat sealer.
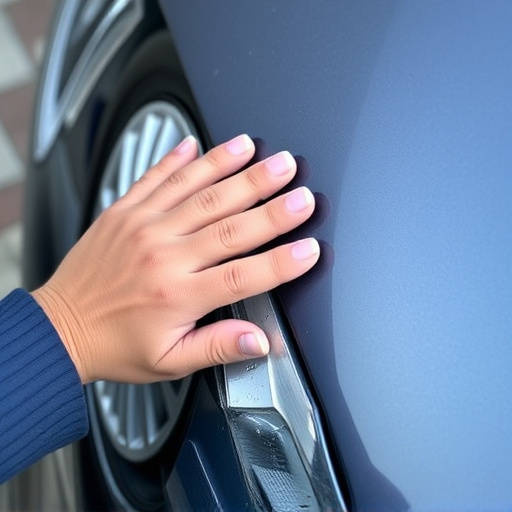
Start by thoroughly washing your car to remove any dirt or debris that could affect the finish. Once dry, inspect the pearl finish for any imperfections such as scratches, swirls, or dents. For minor dent removal, you can use a dent puller kit available at most automotive stores. After addressing any issues, apply a small amount of decontaminant cleaner to a section of the finish using your cloth. This will help remove any contaminants and prepare the surface for polishing. Next, buff the area gently with the polish compound until it achieves a smooth, glossy sheen. Finally, apply a thin coat of clear coat sealer to protect the restored area and repeat the process on the rest of the pearl finish, allowing each section adequate drying time before moving on.
Pearl finish restoration is a meticulous process that, when completed correctly, can breathe new life into old surfaces. By understanding the basics of this technique and addressing common issues, you’re well-equipped to tackle your own restoration projects. With patience and the right tools, you can master the art of pearl finish restoration, ensuring your surfaces not only look as good as new but also maintain their lustrous, timeless appeal.