
Pearl finish restoration uses heat lamps to revive auto paintwork, applying multiple coats for protection against scratches and UV damage. Skilled techs meticulously prepare, heat, cool, assess, and protect surfaces, preserving vehicles' original iridescent aesthetics through a 5-step process.
“Discover the art of revitalizing vintage charm with heat lamps—a game-changer in pearl finish restoration. This comprehensive guide unravels the secrets behind this unique technique, offering a step-by-step approach to achieving flawless results. From understanding the fundamentals of pearl finishes to harnessing the power of heat lamps, you’ll explore an effective method for restoring damaged or dulled surfaces. Elevate your skills and breathe new life into antique treasures with these expert insights.”
- Understanding Pearl Finish: The Basics Revealed
- Heat Lamps: Unlocking Their Secret for Restoration
- Step-by-Step Guide: Restoring Pearl Finishes with Heat Lamps
Understanding Pearl Finish: The Basics Revealed
Pearl finish is a special type of coating that gives surfaces a luminous, iridescent appearance reminiscent of pearls. To achieve this effect, the surface undergoes a meticulous process involving multiple layers of clear coat and special pigments. This unique finish is not only aesthetically pleasing but also offers protection against scratches and UV damage. In the context of automotive restoration, pearl finish restoration is an art that requires skilled hands to revive the original beauty of a vehicle’s paintwork.
Automotive restoration experts use specialized techniques and tools for pearl finish restoration, ensuring precise application and even distribution of the coating. The process involves careful preparation of the damaged surface, which may include patching, sanding, and degreasing to remove any contaminants. Once the surface is ready, heat lamps play a crucial role in curing the pearl finish. These lamps accelerate the chemical reaction necessary for the clear coat to set properly, resulting in a durable, glossy finish that protects the car’s exterior from environmental factors, enhancing its overall appearance and value in the process.
Heat Lamps: Unlocking Their Secret for Restoration
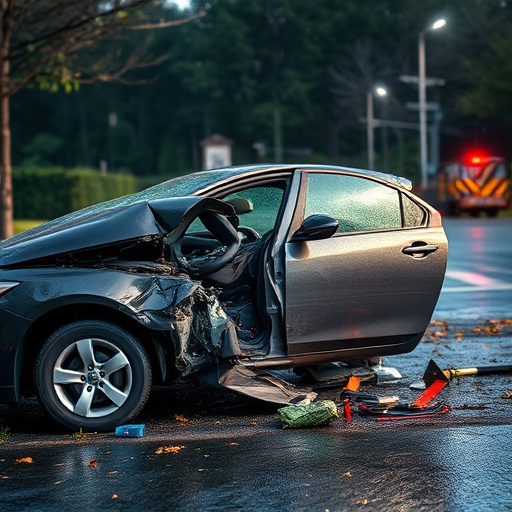
Heat lamps play a pivotal role in the intricate process of pearl finish restoration, revealing their secrets to experts and enthusiasts alike. These specialized tools are not just about generating heat; they are engineered to mimic the natural curing process of high-quality vehicle paintwork. In the realm of car bodywork restoration, especially after vehicle collision repair or extensive vehicle paint repair, heat lamps become indispensable.
The science behind it lies in the careful application of heat energy, which facilitates the chemical reactions necessary for the pearl finish to achieve its glossy, iridescent appearance. By gradually and evenly warming the newly applied coat, these lamps ensure that all components, from the base layers to the topcoat, reach their optimal curing temperature. This meticulous process is crucial in preventing defects like premature curing or uneven gloss, ensuring a flawless result that does justice to the original vehicle paint repair or car bodywork restoration.
Step-by-Step Guide: Restoring Pearl Finishes with Heat Lamps
Restoring pearl finishes with heat lamps involves a meticulous process that can bring damaged surfaces back to their gleaming best. Here’s a step-by-step guide for achieving this intricate repair:
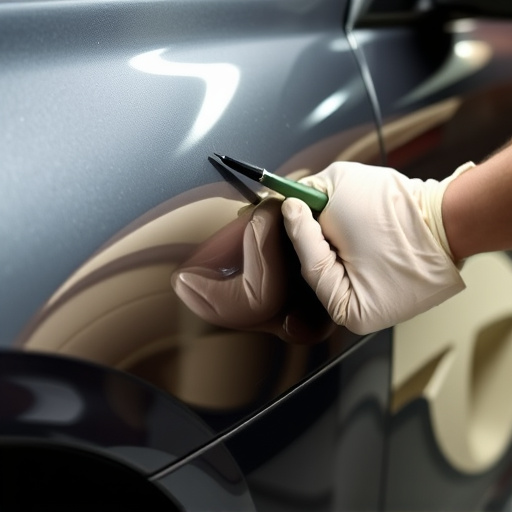
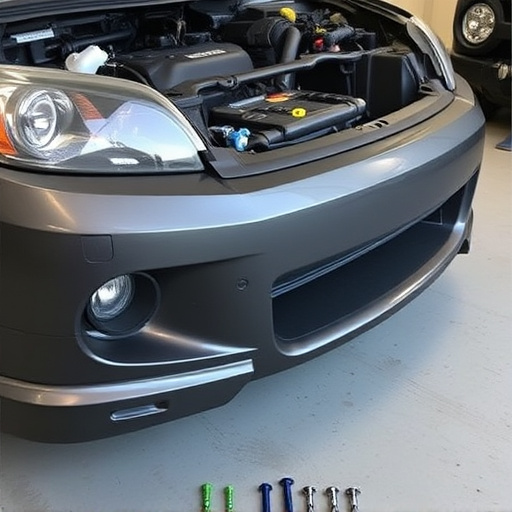
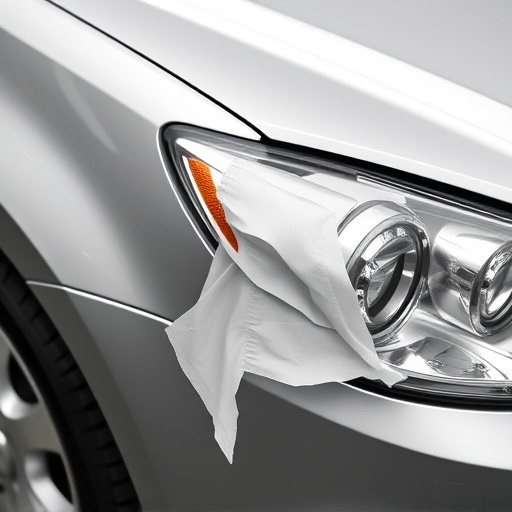
1. Preparation: Begin by thoroughly cleaning the affected area to remove any dirt, dust, or debris. Ensure the surface is dry and free of contaminants. This step is crucial as it prepares the pearl finish for successful restoration.
2. Heat Application: Position a heat lamp strategically over the damaged area. Start with a low heat setting and gradually increase the temperature. Heat lamps are ideal for this process as they can deliver targeted, consistent heat, which helps to soften and reshape the pearl finish without damaging the underlying surface.
3. Monitoring and Adjusting: Keep a close eye on the material during heating. The goal is to re-flow the finish, not burn it. Adjust the heat lamp’s position and intensity as needed to achieve even heating. This step requires precision and patience, allowing the finish to heal while preventing overheating.
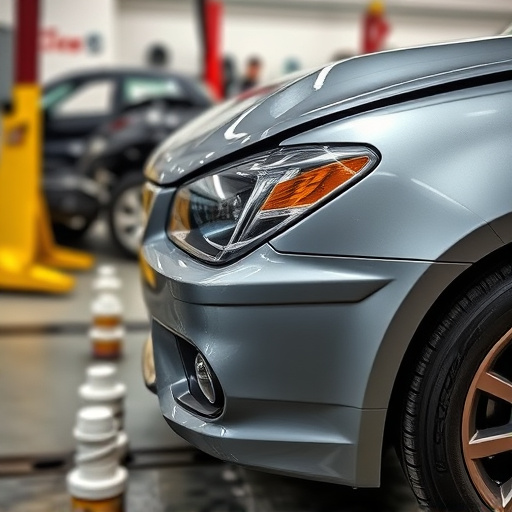
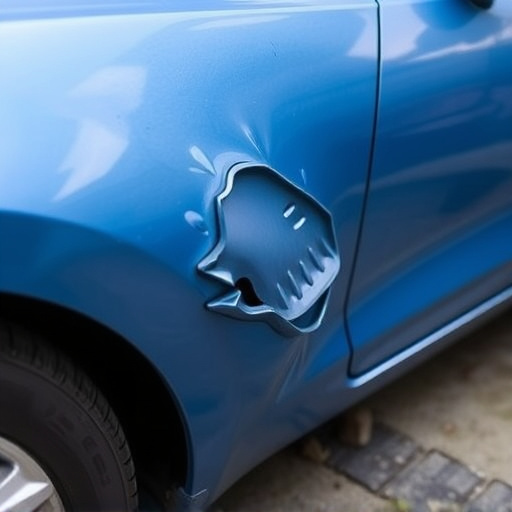
4. Cooling and Assessment: Once the desired temperature is reached, carefully remove the heat lamp. Allow the area to cool down before examining the results. You should see an improvement in the pearl finish’s appearance, with any wrinkles or imperfections becoming less noticeable. If necessary, repeat the heating process until the desired outcome is achieved.
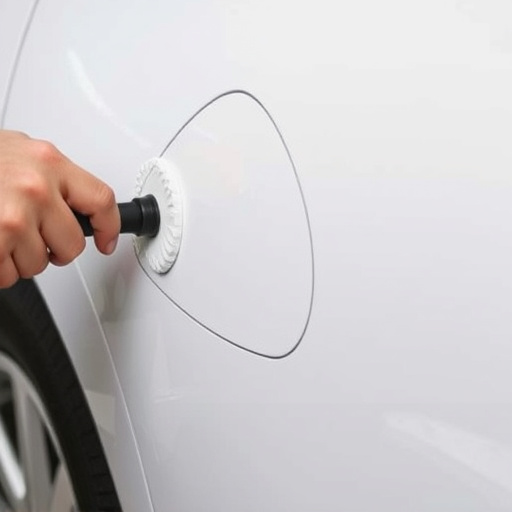
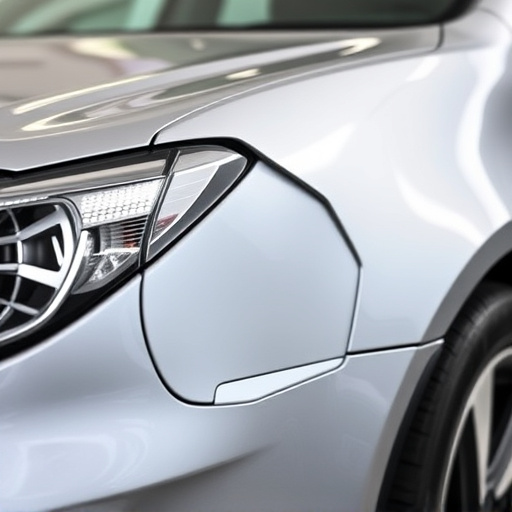
5. Finishing Touches: After successful restoration, consider using a high-quality polish or wax to enhance and protect the pearl finish. This step adds an extra layer of protection while ensuring the restored surface remains in pristine condition. Remember, this process is suitable for various applications, including paintless dent repair and collision repair services, offering a creative solution for auto repair services seeking to preserve the original aesthetics of vehicles with damaged pearl finishes.
The meticulous art of pearl finish restoration has been transformed by the strategic application of heat lamps, offering a modern solution for achieving that classic, lustrous look. By understanding the unique properties of pearl finishes and leveraging the power of these specialized lamps, restorers can expertly revive damaged or faded surfaces. This step-by-step guide equips professionals and enthusiasts alike with the knowledge to successfully navigate the process, ensuring optimal results in pearl finish restoration.